Deploy an ecos_core model to a ECOS Server
Prepare the model deployment
Structure
For deploying onto the ECOS Server, an ECOS core based model should have a structure as follows.
<model_name>
       └── <model_name>.py
       └── model_weight.pt
       └── opt.json
       └── class.names
where,
| File | Description |
|---|---|
| <model_name>.py | Entrypoint, define how the model is created and how the information will be handle |
| model_weight.pt | Pretrained model weight |
| opt.json | Options for creating model |
| class.names | List of class names for the model |
Details for deployment model
The server's processing will be performed in the following order: build_model → get_transfrom → __call__ (predict) → process_predictions.
The created model must be a model that inherits from ecos' BaseModel
In opt.json, you should be check and add the key type to define the type of the model. Current types: pytorch, opencv, darknet. We often use pytorch.
An example of opt.json:
{
    "type": "pytorch",
    ...
}
An example of <model_name>.py
import sys
import os
import torch
from pathlib import Path

from ecos_core.indad import indad
from ecos_core.indad.utils_indad import save_image

# CONSTANT
FILE = Path(__file__).resolve()
FILE_DIR = os.path.join(os.path.dirname(__file__))
ROOT = FILE.parents[0]
if str(ROOT) not in sys.path:
    sys.path.append(str(ROOT))
sys.path.insert(0, os.path.join(os.path.dirname(__file__), "..", ".."))

class Model(indad.Model):
    NAME="indad"
    def __init__(self, opt):
        super().__init__(opt)
        self.opt.class_names = ["good", "anomalous"]
        self.opt.weight = f"{FILE_DIR}/model_weight.pt"
        self.opt.device = "cuda:0" if torch.cuda.is_available() else "cpu"

    def get_transform(self):
        IMAGENET_MEAN = torch.tensor([.485, .456, .406])
        IMAGENET_STD = torch.tensor([.229, .224, .225])

        data_transforms=transforms.Compose([
            transforms.Resize((SIZE,SIZE), interpolation=transforms.InterpolationMode.BICUBIC),
            transforms.ToTensor(),
            transforms.Normalize(IMAGENET_MEAN, IMAGENET_STD),
        ])

        def transform(image_path):
            raw_image = Image.open(image_path).convert('RGB')

            image_transform = data_transforms(raw_image)

            image_transform = image_transform.unsqueeze(dim=0)

            return raw_image, image_transform

        return transform

    def process_predictions(self, pred, path, raw_image, image_transform, save_image_path):
        img_lvl_anom_score_tensor, pxl_lvl_anom_score = pred
        print(pxl_lvl_anom_score)

        img_lvl_anom_score = float(img_lvl_anom_score_tensor.item())

        if img_lvl_anom_score >= self.opt.threshold:
            predict_index = 1
        else:
            predict_index = 0

        predict_class = self.opt.class_names[predict_index]

        save_image(image_transform, pxl_lvl_anom_score, save_image_path, predict_class=predict_class)

        # JSON information about result
        save_json_path = "{}.json".format(os.path.splitext(save_image_path)[0])
        with open(save_json_path, 'w') as result_file:
            json.dump({
                "save_image_path": save_image_path,
                "score": {
                    "image_score": img_lvl_anom_score,
                    "pixel_score": pxl_lvl_score
                },
                "predict_index": predict_index,
                "class_name": predict_class,
                "bbox": [0.5, 0.5, 1, 1],
                "confidence": 0.0,
            }, result_file)

        return save_image_path

print("Create model successfully!")
Testing before deploy
You should to create some test scripts to test your model before deploy to avoid problems. An example script might look like this:
from <model_name> import Model
import json
import argparse

parser = argparse.ArgumentParser()
args = parser.parse_args()
opt = "./opt.json"
input_path = "<input_image_path>"
output_path = "<output_image_path>"
with open(opt, "r") as f:
    args.__dict__ = json.load(f)
model_instance = Model(args)
model = model_instance.build_model()
data_transforms = model_instance.get_transform()
raw_image, image_transform = data_transforms(input_path)
image_transform.to("cpu")
outputs = model(image_transform)
print("Inference prediction")
model_instance.process_predictions(outputs, input_path, raw_image, image_transform, output_path)
Replace <model_name>, <input_image_path>, <output_image_path> to suit your model.
Deploy model to server
After prepare structure like above, you can bring that folder to the server (ECOS_AI) and put it into the user's folder.
- In this case, you should connect server (now is PhuongLy PC (For More information to connect, please contact in chat space of team)).
- go to path
/home/hachix/Desktop/HachiRepo/ECOS_AI/src/detector/server/data/<user_name>/models/. Then, put the model folder into.
Note: with <user_name> is your user you want to add that model.
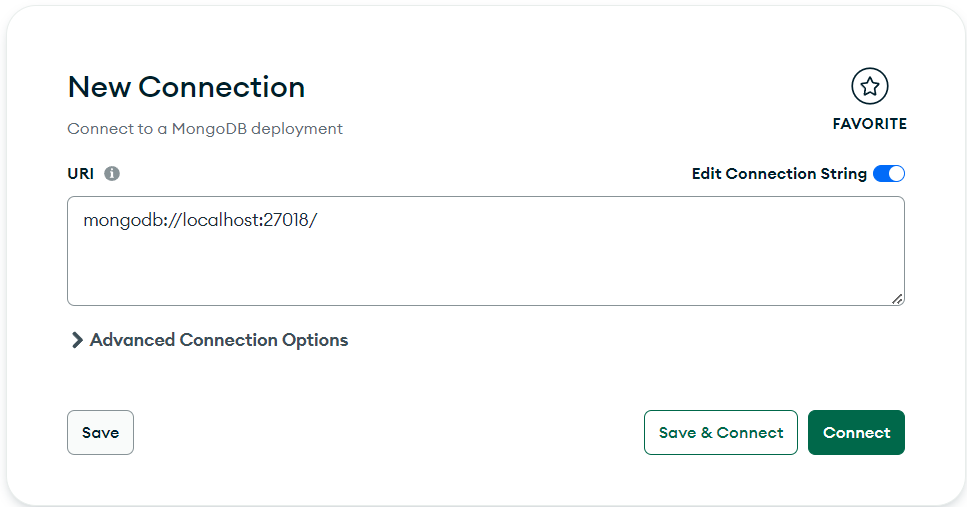
After that, open database (MongoDB Compass) connect to database (now is localhost:27018) and register record for this model. You can select ADD DATA or Clone document from existing record to insert document with into database to model collection.


- Example record:
{
    "_id": {
        "$oid": "****************"
    },
    "username": "<user_name>",
    "template_name": "<model_name>",
    "model_name": "<model_name>",
    "description": "<Description>",
    "document_url": "dummy",
    "status": "done",
    "training_time": 0.3,
    "threshold_score": 24.4,
    "created_at": "2024-01-19 06:32:45.384220+00:00",
    "display": {
        "model_name": "<Display_name>",
        "crosshair": null
    }
}
- Note:
$oidautomatically generated